Tips on how to take real estate photograph that sells.
If you think taking excellent photos of real estate is easy, think again. You have to learn how the basics of camera settings in order to get the shots you want, but don’t worry, because we’re here to explain everything.
If you want high-quality real estate photos, you’ll have to do better than just using full auto mode. This isn’t to say that you have to take photos in manual mode entirely. Not at all! You just have to learn about how exposure works, and this tutorial will tell you all you need to know.
It’s All About Exposure (Controls)

Whether you are an amateur photographer or an old-timer who needs a bit of a refresher, you have come to the right place. In this article, we will give you an overview of ISO, shutter speed, and aperture, and how these settings can control an image’s exposure levels.
This real estate photography tutorial will also cover exposure settings such as aperture priority mode, Exposure Triangle, and other basic camera settings that will help you take better shots.
Let’s start this tutorial with aperture priority mode. This setting allows you to control aperture and ISO as your camera identifies a corresponding shutter speed. It gives you an additional level of control over exposure without having to worry about other settings.
Now, we’re not saying you should not take interior real estate photos in manual mode, but more often than not, the aperture priority mode is your best choice.
One of the benefits of using the aperture priority mode is that you can choose the aperture level at which the camera lens is at its best and sharpest mode. This level is also known in the photography world as the lens’ sweet spot. This guarantees that the photos you take are at their sharpest potential.
And while sure, all cameras have varying levels of sweet spots, but in general, it’s usually within the f/8 range.
Here’s a tip: we highly recommend that you use a tripod and a remote shutter release when taking interior real estate photos. Why? Because there’s a chance that your camera will select a slow shutter speed level, depending on the lighting of the interior. It helps if the camera is perfectly still so that in the event that it chooses a slow shutter speed, it will still be able to take clear photos. Otherwise, you might end up with blurry photos. The general rule is this: if your camera’s shutter speed is slower than 1/50 seconds, go get a tripod.
When To Modify The Aperture
While it’s generally fine to leave your aperture level at f/8, this will not work all the time in all interiors. There will be times when you will have to narrow or widen the aperture level.
To widen the aperture, you’ll have to choose a smaller f-digit. For instance, an aperture level of f/2 is larger than f/8. On the other hand, an aperture level of f/16 is smaller than f/8.
You also have to keep in mind that aperture affects the depth of field. Small aperture f-digits such as f/2 will reduce the depth of field, while larger f-digits such as f/16 will augment it.
So, for instance, if you need to highlight a specific object or area in a room, say a vase or the fireplace, you will have to pick a small f-digit, such as f/2. Doing so will blur out the surrounding areas of your subject, making it more highlighted and visible.
On the contrary, if you want to highlight all the details in the interior - from the foreground to the background, select a higher f-digit, such as f/16. This will improve the depth of field and will feature all the elements in the room. Selecting this level is especially useful if you want to feature elements situated near the camera.
Here’s an example: Say you’re taking a photo of a dining room where the dinner table extends into the foreground. Selecting the aperture level of f/16 will help take a sharp image of the room - from the area of the table nearest the camera up until the opposite end.
Dealing With Lighting Issues When Taking Interior Real Estate Photos
As we’ve mentioned, it’s not that easy taking exceptional photos of interior real estate properties. At one point or another, you will come across several lighting issues, and you need to learn how to deal with each of them.
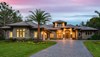
The best lighting condition you can hope for is a room that is engulfed n natural light. These rooms are easiest to photograph because you won’t ever run out of artificial light. You won’t have to worry about taking dark images at all!
But of course, this is never the case. Sometimes, you’ll come across rooms that are rather dark, perhaps because space is void of artificial lighting, or because it doesn’t have enough windows, or because its interior uses dark hues.
Here’s the solution (aside from switching all the lights you can find on): Pick a smaller f-digit (say from f/8 to f/3.5). You could also increase the ISO, from ISO 200 to ISO 400 as you shoot in aperture priority mode.
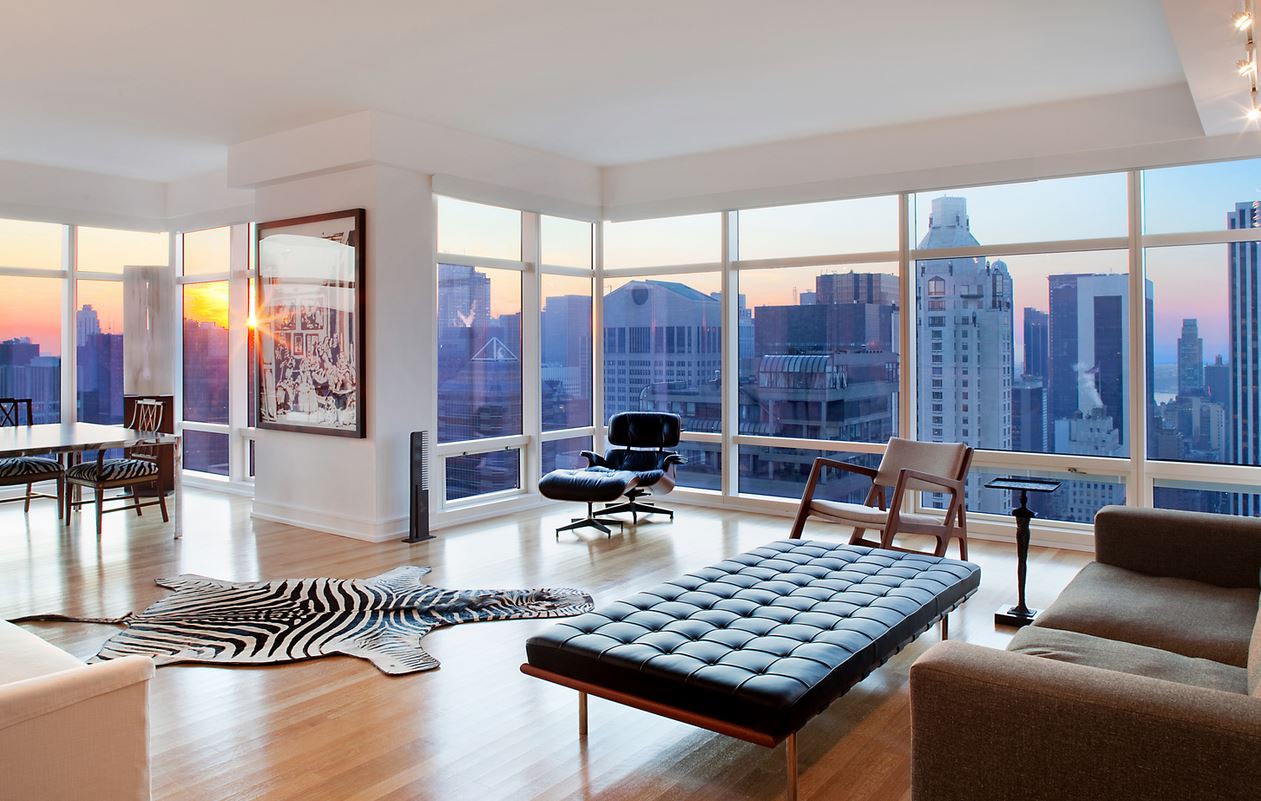
Here’s the most challenging task you’ll face, though: a dark room with big windows that allow a ton of light. Even the highest-end and priciest cameras have their limits too, especially when it comes to such wide dynamic range shots.
Here’s the struggle: if you expose the photo for the dark interior, the windows become too overexposed. On the other hand, if you expose for the windows, the dark interior becomes severely underexposed. What to do, what to do?
The secret to handling such a wide dynamic range dilemma is to bracket the exposures. What does this mean? You will have to take several shots of the room using different levels of exposure.
For instance, if you’re taking a photo of a dark room with brightly-lit windows, select aperture priority mode, and focus your camera on any area that’s not too bright nor too dark. And then, check which shutter speed your camera has chosen, and take note of it.
And then, switch the camera setting from aperture priority to manual mode. Take a photo and check whether the shutter speed changed or not. If the shutter speed changed, change it back to the speed it was when you first took a photo.
Next, change the camera setting to “Auto Exposure Bracketing”, or “AEB.” Not familiar with how to activate this mode? Check your camera’s manual - you’ll find the instructions there.
And then, set the exposure increment to “to +/- 2 EV.” Alternatively, if your camera does not possess such high settings, just pick the highest level available.
Now, change your camera setting to “continuous shooting mode.” Frame the shot however you want it, but make sure to focus on the subject properly. Click on the shutter button and you should hear several clicks. This means you have activated the bracketed image mode correctly.
What you’ve just done is you’ve taken several images with varying exposure levels. This will now help you merge and blend the photos to arrive at one perfectly beautiful image.
Here’s a tip: Not only will this technique give you the best-looking image, but it will also take a much shorter time instead of setting up artificial lighting.
The Right Camera Settings for Interior Real Estate Shots
For Brightly-Lit Interiors
As we have mentioned, this is the best scenario possible. The best option here is to stick to Aperture Priority Mode. As for the other settings, here’s a great combination:
● Exposure Setting: Aperture Priority Mode
● Aperture Level: f/8
● ISO: 400
● Shutter Speed: To Be Determined By Your Camera
● Focus Mode: Single-Shot Auto Focus
● Metering Mode: Matrix
However, if you end up with dark images with the above settings, change the aperture level from f/8 to f/7.1 to make it wider. You could also increase the ISO from 400 to 800.
On the contrary, if the photos are way too bright, narrow down the aperture to f/11 or minimize the ISO to around 200.
For Dark Interiors
Naturally, you can’t use the same settings when photographing dark rooms with a wide dynamic range. Here’s the best camera setting for such a scenario:
● Exposure Setting: Aperture Priority Mode
● Aperture: f/8
● ISO: 400
● Shutter Speed: To Be Determined By Your Camera
● Focus Mode: Single-Shot Autofocus
● Metering Mode: Spot
Also, be sure to use the bracketing technique we’ve discussed previously. And, choose the most number of bracketed exposures your camera can handle. Don’t forget to choose “continuous shooting mode” as well.
If you adhere to these techniques, you are guaranteed to take stunning photos with just the right amount of brightness, regardless of how dark or bright the interior you are working with is.
To really upgrade your real estate photos, you'll need superb editing. The expert real estate photo editors at Homiesfoto will take care of that for you.
We also cover tips on how to photograph shoes that sell and provide a service on that, check us out.